Adding a Light Sensor...
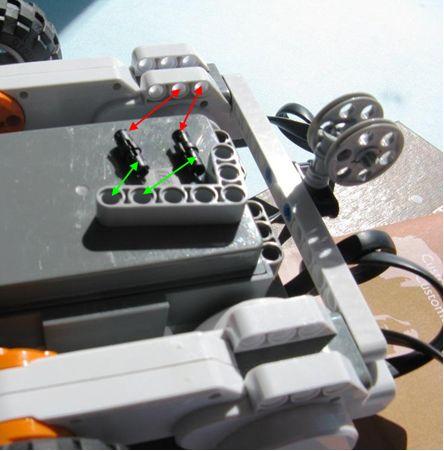
First find the LEGO pieces that are shown resting on Robot2 below, and assemble them by connecting them in the places shown by the arrows.
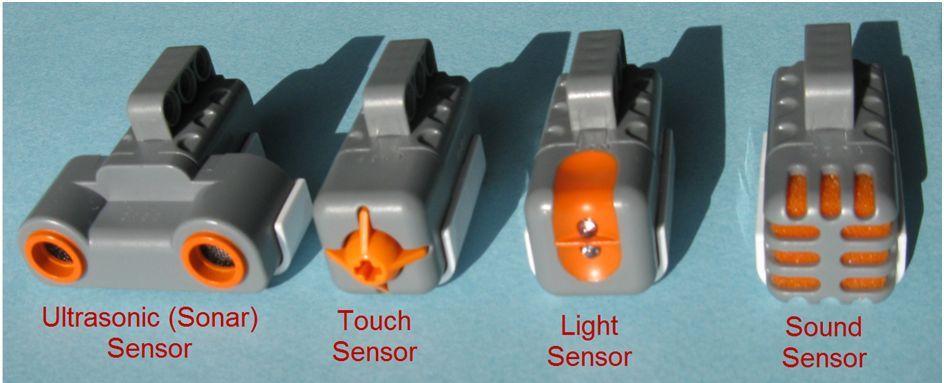
Next find the light sensor. This is the sensor that can be used by the Robot to tell the difference between light and dark. There are several LEGO sensors that are of a similar appearance. The light sensor is the one with two lenses at the base of the sensor, see below.
Assemble the light sensor and LEGO pieces by placing them in the positions indicated in the image below.
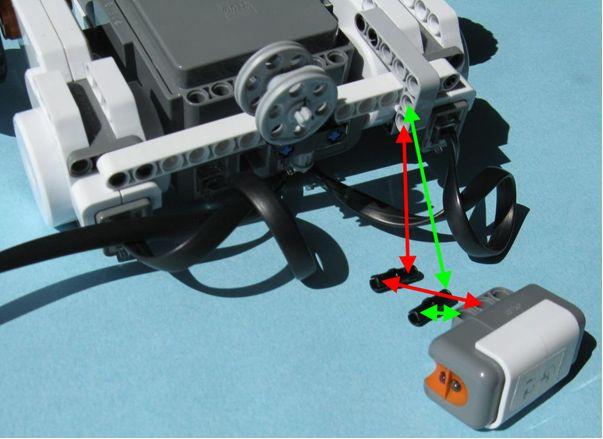
The assembled light sensor could look like the image below - (note that, to make the picture clearer, we have removed the motor cable - you will need to have the motor cable connected to run your robot!)
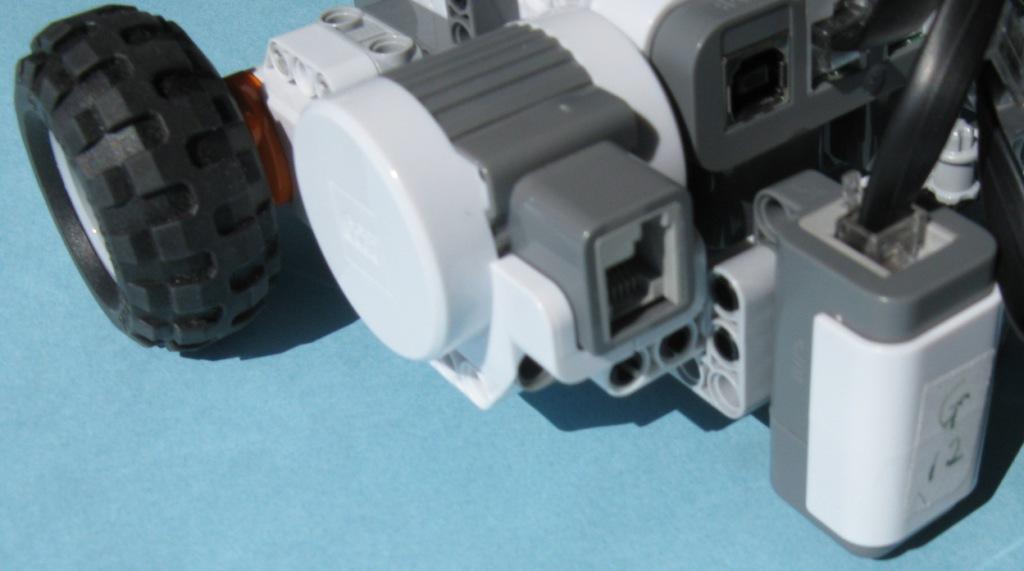
The light sensor seems to work best when it is about 5 to 8 mm. (about 1/8 of an inch) above the arena's surface. Check this spacing for your Robot by placing your Robot on a flat surface (e.g. a table), and seeing how high the bottom of the light sensor is above the table top. If this appears too high or low, check the way you attached the light sensor to your Robot.
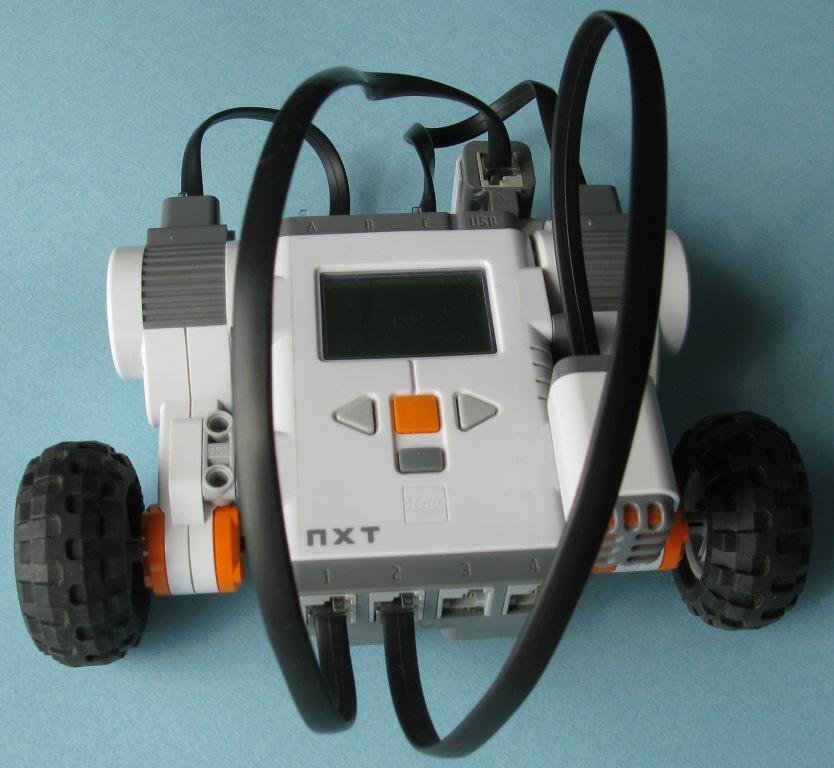
If this spacing is approximately correct, the light sensor should be connected to the LEGO computer brick by using a cable plugged in to a sensor port. The light sensor can be plugged into any of the sensor ports labelled 1, 2, 3 or 4. I have plugged it into sensor slot 1 (see the image below), and this will be the slot used in the sample NXT-G program that we look at in the next web page.
You have successfully added a light sensor to our Robot - Good work!
How do we use this light sensor to teach our Robot to follow the edge around our Robot Racing Arena? - click here to find out!
Edge Following. - Tutorial 24 - NXT-G - LEGO MindStorms NXT - www.DrGraeme.net